The Culinary Superiority of a Nut Crust
Traditional breadcrumbs provide a reliable, neutral texture for pan-fried cutlets and casseroles. However, replacing them with crushed nuts elevates a dish from standard home cooking to professional restaurant quality. Nuts introduce complex flavor profiles, rich natural lipids, and a satisfying, dense crunch that breadcrumbs simply cannot match.
This technique naturally accommodates gluten-free and low-carbohydrate diets without sacrificing texture. As a chef, I utilize almonds for their versatile, mild nature, while pecans and walnuts bring warm, toasty notes to the palate. Pistachios offer a vibrant aesthetic and a distinct earthiness that pairs exceptionally well with robust fish like halibut or salmon.
You must strictly utilize raw nuts for your breading station. Roasted nuts have already expelled much of their natural oils and will rapidly scorch when exposed to direct heat in a skillet. Raw nuts allow you precise control over the Maillard reaction, ensuring the crust reaches a perfect golden brown at the exact moment the protein finishes cooking.
The Science of the Perfect Grind
Texture dictates the success or failure of this culinary application. If your nut pieces are too large, they lack the surface area required to adhere to the protein and will immediately fall off in the pan. Conversely, reducing the nuts to a fine, flour-like powder releases their internal oils, resulting in a greasy paste that provides zero crunch.
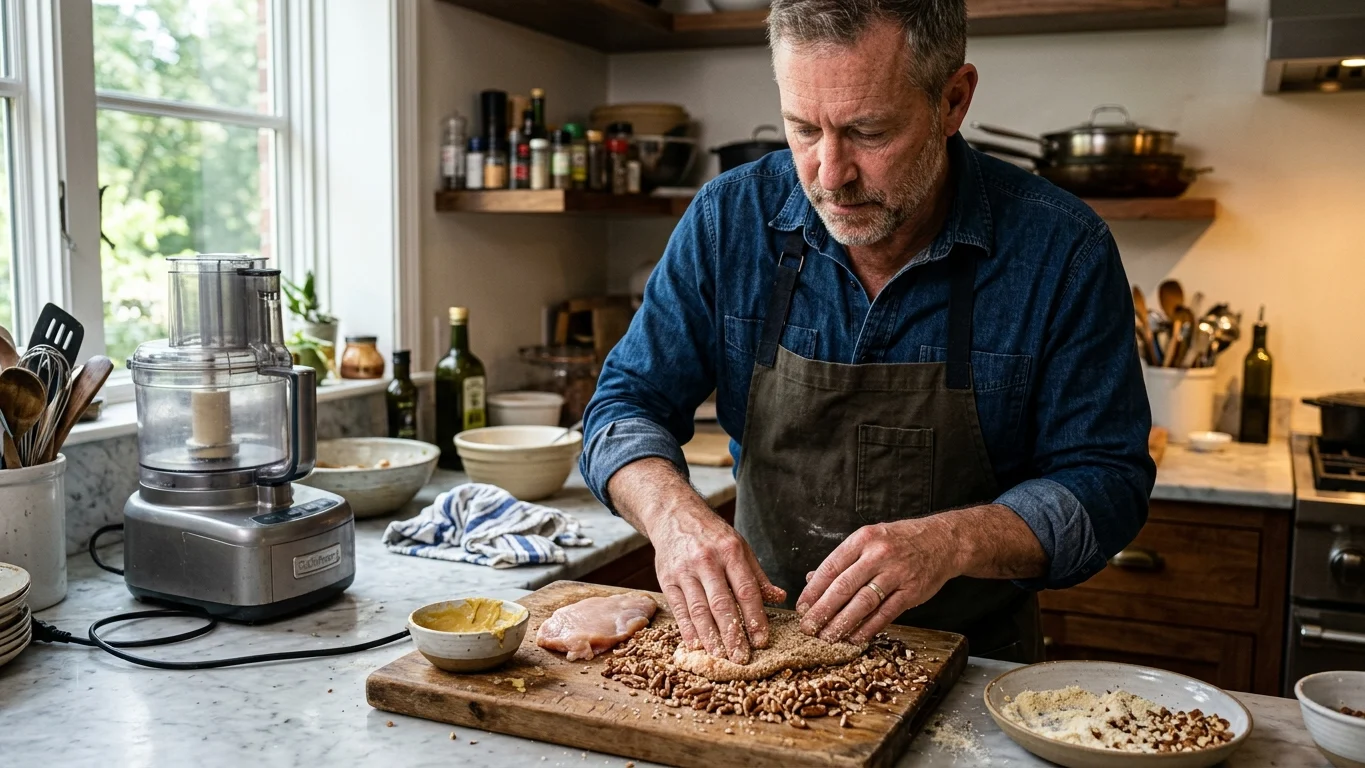
A food processor is the most efficient tool for this task. Pulse the raw nuts in short, one-second bursts until you achieve a coarse meal containing both small, crunchy fragments and finer crumbs. If you lack a food processor, sealing the nuts in a heavy-duty zip-top bag and gently crushing them with a meat mallet yields excellent results.
Standard Breading Procedure Modifications
The classical Standard Breading Procedure requires a slight modification to accommodate the weight of a nut coating. Heavy nut fragments require a robust, tacky surface to grip. Beaten eggs are the traditional standard, but a thin, even layer of Dijon mustard or whole-milk Greek yogurt acts as an exceptional culinary glue.
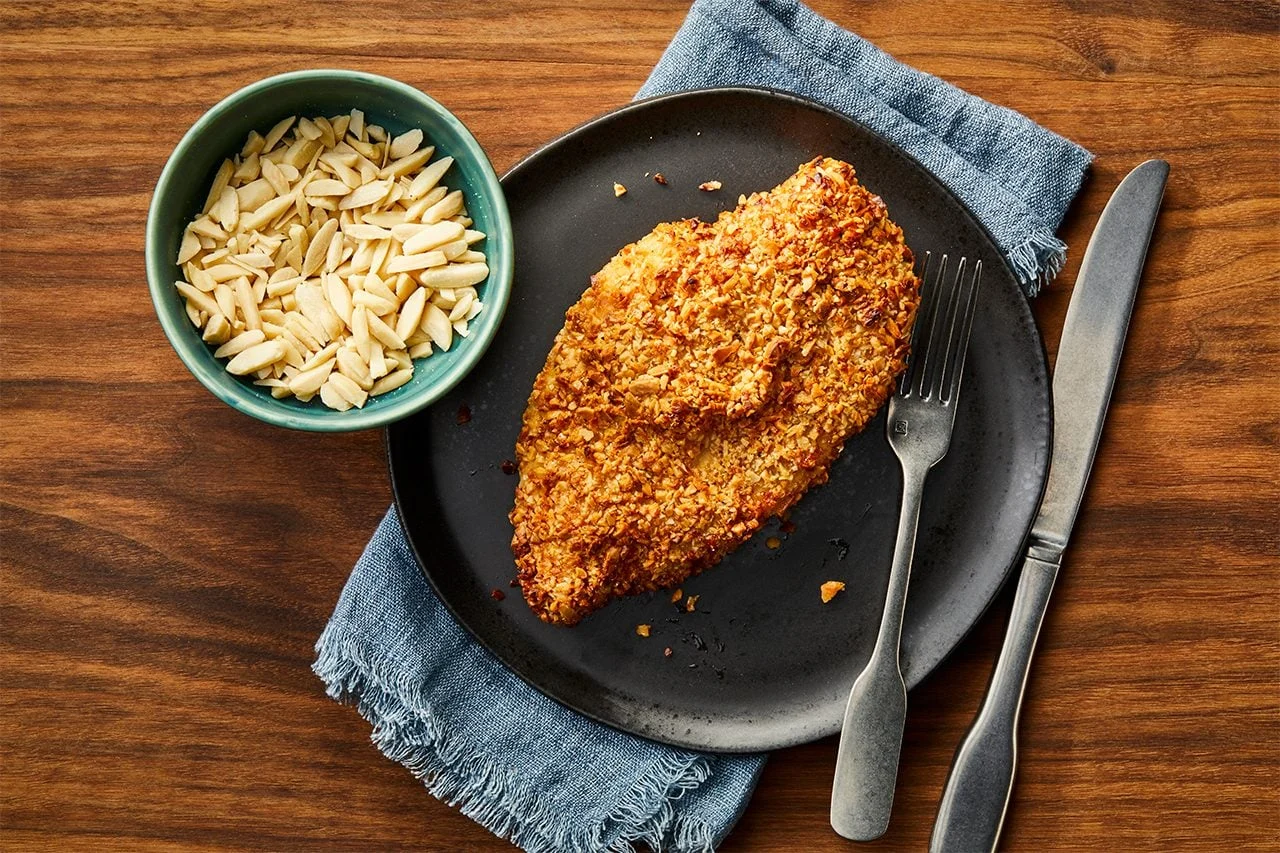
To ensure absolute adhesion, always begin by dredging your protein in a very light coating of seasoned all-purpose flour, almond flour, or cornstarch. This starch layer absorbs surface moisture and gives your wet binder something to cling to. Once breaded, allow the protein to rest on a wire rack for five to ten minutes before cooking, which allows the coating to hydrate and lock into place.
Master Recipe Structure: Pecan-Crusted Chicken Cutlets
To execute this technique flawlessly, strict adherence to ratios and temperature is required. The following table breaks down the precise requirements for a professional-grade nut-crusted poultry dish.
| Ingredient / Component | Measurement & Weight | Cooking Time | Expert Pairings & Sides |
|---|---|---|---|
| Raw Pecans or Almonds (Pulsed to a coarse meal) |
1 cup (110g) | Prep Time: 15 minutes Resting Time: Cook Time: Total Time: |
Serve alongside a shaved fennel and green apple slaw dressed in a sharp lemon vinaigrette to balance the rich lipids of the nuts.
Blistered asparagus spears finished with Maldon sea salt and classical pommes purée also make exceptional, high-end accompaniments. |
| Chicken Breasts (Pounded to 1/2-inch thickness) |
2 breasts (6 oz / 170g each) | ||
| All-Purpose Flour or Cornstarch (For the initial dredge) |
1/4 cup (30g) | ||
| Large Eggs (Thoroughly beaten) |
2 whole | ||
| Kosher Salt & Black Pepper | 1 tsp (6g) Salt 1/2 tsp (1g) Pepper |
||
| Clarified Butter or Grapeseed Oil | 3 tbsp (45ml) |
Temperature Control and Heat Management
Nut crusts demand intense vigilance at the stove due to their high susceptibility to burning. The concentrated oils in nuts mean they transition from beautifully toasted to bitter and blackened in a matter of seconds. Never subject a nut-coated protein to maximum heat.
Heat a heavy-bottomed stainless steel or cast-iron skillet over medium heat, targeting a pan temperature of roughly 325°F to 350°F. Use a cooking fat with a sufficiently high smoke point, such as clarified butter, ghee, or grapeseed oil. Gently lay the protein into the pan away from you to prevent splashing.
Once the protein is in the skillet, do not agitate it. Let the crust form an undisturbed sear for three to four minutes before carefully flipping it with a thin fish spatula. This gentle handling ensures that your meticulously crafted, crunchy coating remains firmly attached to the meat, delivering a flawless textural experience.